Installing WampServer is one of the greatest idea for beginner who want to learn wordpress for creating Websites for their business. WampServer is available for windows and for MAC use, they can try MAMP or XAMPP similarly Linux user can install LAMP with help of just a few commands to set up the whole web server package along the PHP environment to develop PHP-based applications.
There is similar software like WampServer that is XAMPP server but you don’t need to be because both the software are meant for the Windows platform and provide the same type of stability and features.
Here in this post, you can learn about the WAMPserver and have an idea of how to install a WAMP server for Windows 10, Windows 8, and Windows 7 no matter you are using the 32bit or 64bit the installation process is the same for all Windows versions.
What is WampServer ?
WampServer is a Windows web development environment. It allows you to create web applications with Apache2, PHP and a MySQL database. Alongside, PhpMyAdmin allows you to manage easily your databases.
How to Install WampServer on Windows 10 ?
Step 1: Download WampServer
Go to the official WAMP server website (WampServer) and download the WampServer set up according to your Windows 10 version.

Step 2: Installing WampServer.
After complete download, run the setup and select the language in which you want to install the Wamp server for Windows 10.
Step 3: Select default browser.
While installing the setup of WampServer, it will ask which browser you want as default in the WAMP server. By default, it uses the iexplore.exe (Internet Explorer) to change it to Google Chrome or Mozilla Firefox click on YES otherwise NO.
When you click on YES, the Windows Explorer will open from where go to C:\Program Files (x86)\Google\Chrome\Application and select the Chrome.exe and click on Open.
After selecting the default browser, the WampServer will also ask to select the default Text editor which we need in case we want to edit Apache or PHP config files such as http.config or php.ini. By default, it uses the notepad of Windows, I think it doesn’t need to be changed, so that’s why just click on NO. However, if you want to change the Text editor then click on YES and locate your third-party installed text editor as we do above for selecting Google chrome.
Step 4: Check the WampServer Apache.
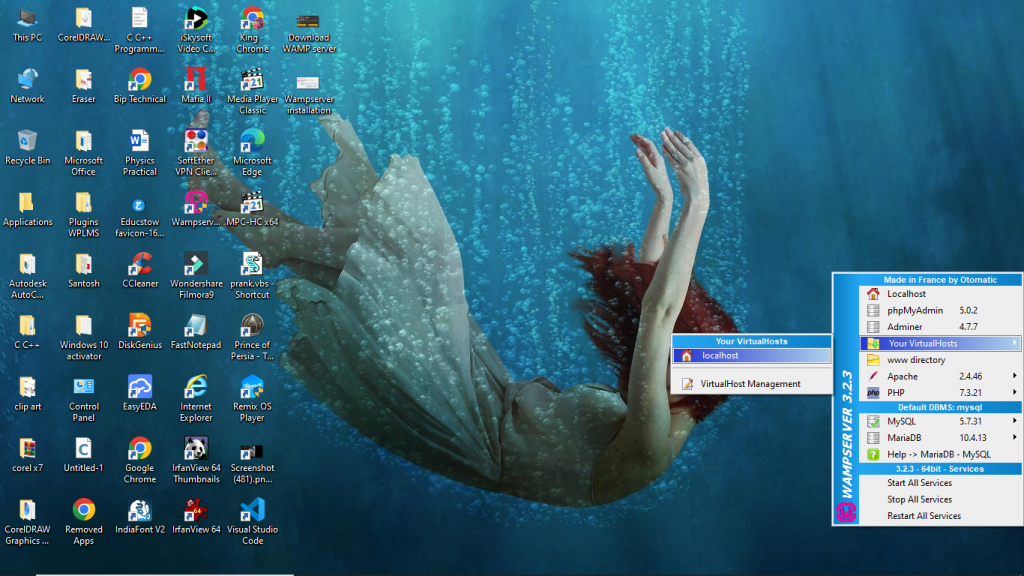
After successful installation, click on the system tray and then on the WAMP Server icon. As you click you will find shortcuts to check and use the Apache, MySQL, PHPMyAdmin, MariaDB, Stop all services, Start all services and Reset all services.
Go to “Your VirtualHosts” and the localhost option will appear.
When you click on Localhost a tab will open with a page showing all server configuration in your browser. For reference see the screenshot.
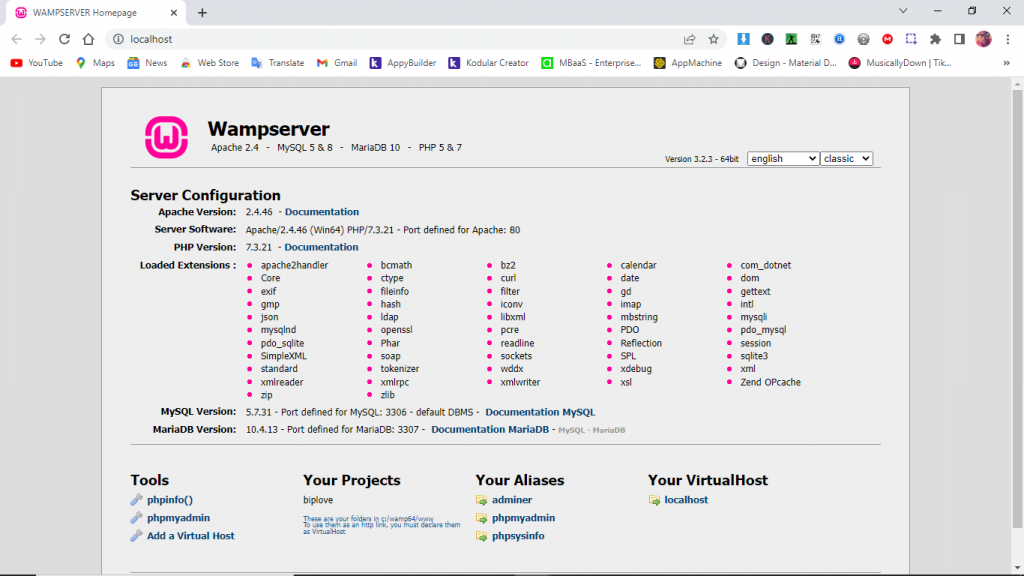
It the page will load as the above screenshot, you will successfully installed WampServer on your Windows.
Give a share if you got helped from this post.
